Q: How can I create my own LISTSERV Maestro newsletter template?
Answer by Ben Parker
Chief Corporate Consultant, L-Soft
LISTSERV Maestro provides a number of stock newsletter template designs, which are intended to be easily customizable for your use by adding logos, images, etc. However, you may wish to go further and create a fully personalized and designed template for your organization's use. This tech tip will outline a process for creating your own newsletter template. Some HTML coding skills are necessary to do this.
A good place to start is with a pencil sketch of a design or layout:
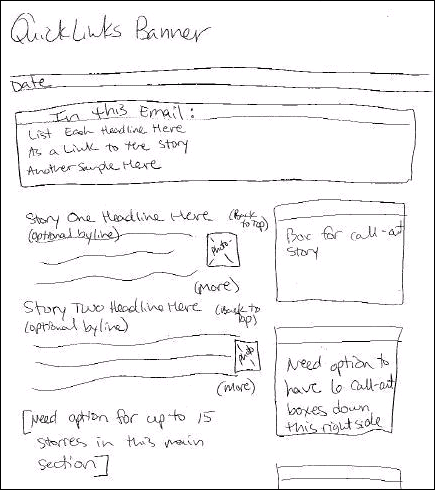
The rendering of HTML messages in different mail programs is somewhat problematic. It would be difficult for you to re-invent the technical study and testing that has already gone into the design of the stock LISTSERV Maestro newsletter templates. So, a good way to begin creating your own template is to find a stock template that is somewhat similar to your design and copy that, making appropriate modifications.
Browsing through the stock LISTSERV Maestro templates, we find the 'Sea Cliff Blue' looks similar to the design sketch. The 'wavy' top design is not what we want, but the 'Table of Contents' (TOC) area is similar, the main feature articles area is also similar and the sub-feature articles down the right side are also similar to what we have in our sketch.
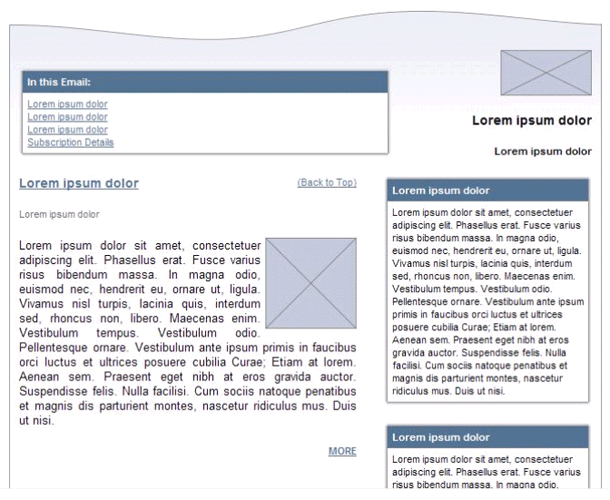
So, we'll copy this one. We download the HTML content of this template by clicking on the 'Download HTML' button:
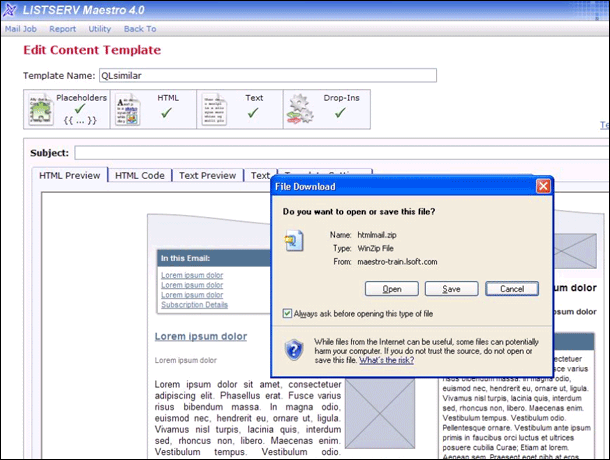
Then we unzip and open the HTML code in a suitable editor for modification. This is where you need to have some HTML coding experience, or have an associate with the appropriate skills who can help you. (Note: It is possible to do all the editing within the HTML Code tab in LISTSERV Maestro, but I prefer to use an external HTML editor, which has a lot of built-in help and self-checking of the code to prevent you from making mistakes.)
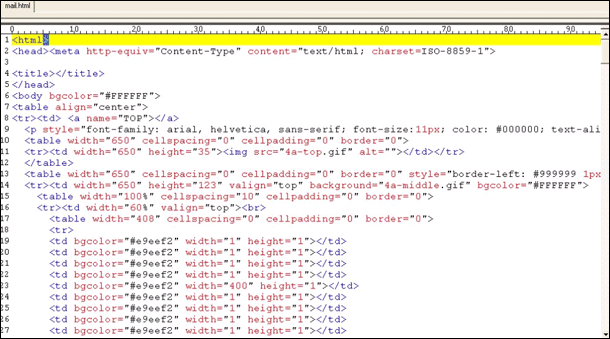
We won't detail all the changes made in the HTML code of this template as that is beyond the scope of this tech tip. For details on handling the special coding for LISTSERV Maestro placeholders, see the References section at the end of this paper. In some cases you will be replacing placeholders with fixed blocks of HTML content (e.g. banner headers, graphics, logos, legal disclaimer text blocks, newsletter title, etc.) Keep note of any placeholder names that you remove. You'll need this later. The editing will be fairly easy for you because you chose to start from an existing template that is similar in format to your planned design, so many of the placeholders will already be in the right place.
When editing HTML code, it is always useful to have the page you are working on displayed in your web browser while the code is open in your HTML editor. Then you can quickly see the results of your changes. Some HTML editors do this for you automatically.
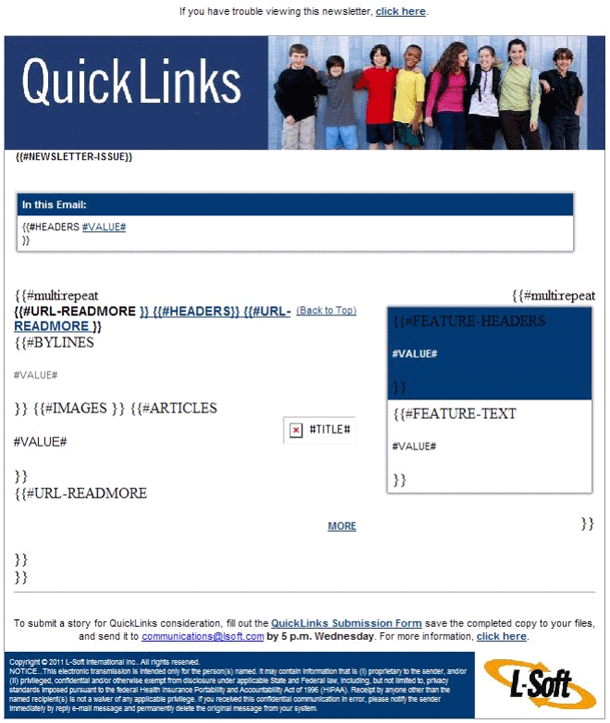
Here is what our finished template looks like. (Note: This is a newsletter for employees within a large organization, so there are no unsubscribe links and the Can-Spam Act rules do not apply.)
When you are satisfied with your completed design, upload your revised HTML code back to your LISTSERV Maestro Template, in the same manner as if you were uploading HTML message content (i.e. click on the 'Upload HTML' button). Be sure to include/upload any necessary graphics with the template unless they are externally referenced.
After uploading, go to the Template Settings tab and edit the placeholders. Since you are modifying an existing template, you may need to delete some placeholder names that are no longer used (you should have kept a listing of deleted placeholder names while you were editing the HTML code), and of course, add any new placeholder names.
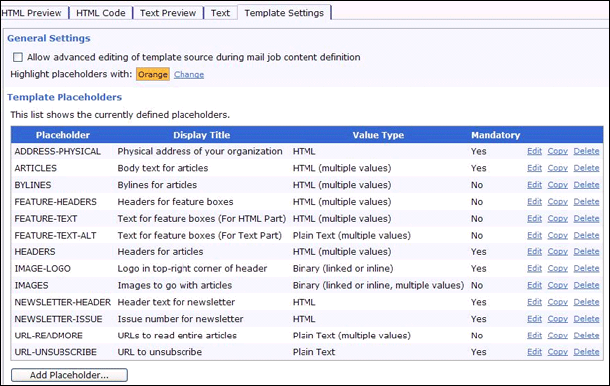
When this is done, save your work so far (click the 'OK' button). Then reload the template and click the link to 'Test Template'. This allows you to input example content in much the same way as if you were using the template for a mailing job. If you encounter any problems, you may need to go back to the 'HTML Code' Tab to edit the code. When you do, you can see the results of your editing immediately by going to the HTML Preview tab.
Don't forget to click on the 'Text' Tab and prepare a plain-text version for your template. Since you copied an existing template, it is likely that you will want to change the text version from the existing version. The simplest text version is to use the special LISTSERV Maestro System Drop-In URL for 'ViewInBrowser'. This generates a URL that allows the recipient to view the message in their web browser instead of their email program.

When you save the template after testing, and correction of any problems, be sure to click the 'Enable' link so that the template is enabled for use in future mailings.

At this point you are done and ready to use your new custom template for mailing jobs.
References
LISTSERV Maestro Message Templates: Creating Your Own Templates
http://www.lsoft.com/resources/whitepaper-download.asp?id=311
LISTSERV Maestro Message Templates: Advanced Techniques
http://www.lsoft.com/resources/whitepaper-download.asp?id=312
LISTSERV Maestro User's Manual, Sect 15.3.1, System Drop-Ins
http://www.lsoft.com/manuals/maestro/4.0/htmlhelp/interface%20user/Utilities.html#2338614
Subscribe to LISTSERV at Work.
|